
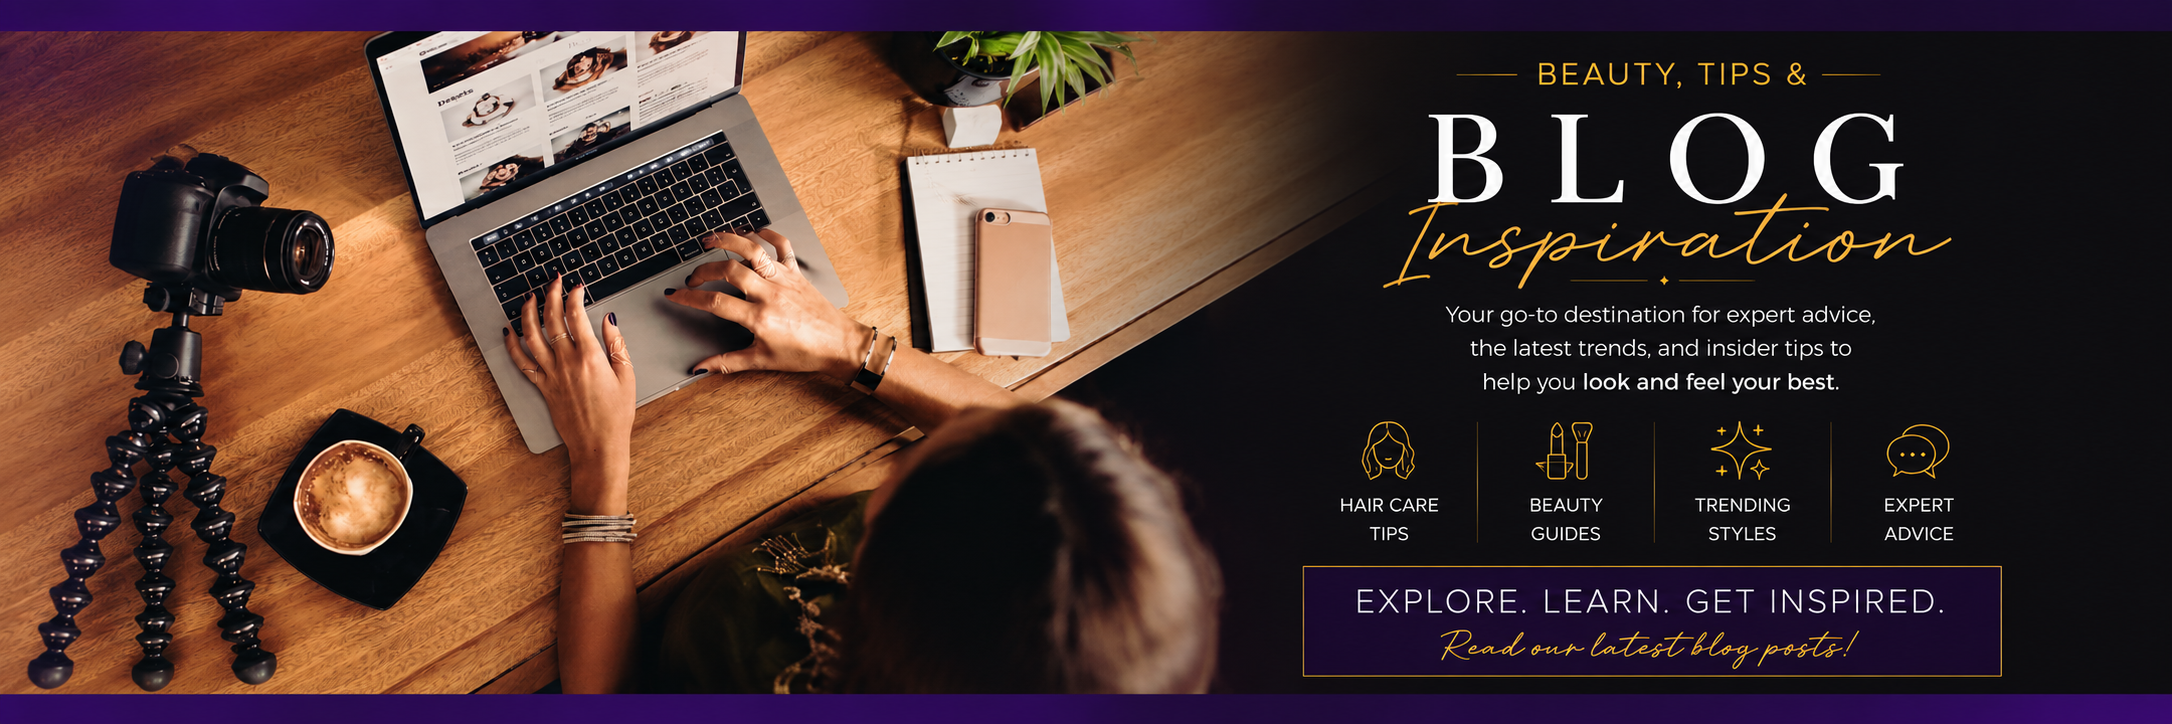
BLOG
Last-Minute Halloween Hairstyles
October 29 2018

Sometimes October 31st creeps up on you faster than you think. (Boo!) With a little creativity and a robust wardrobe you can always make some last-minute Halloween costume magic happen. Call us biased, but what's a great costume without the perfect Halloween hairstyle? Say goodbye to your tried and true cat ears and adopt a fresh new style that is easy to create. We're rounding up four of our favorite quick and easy Halloween hair ideas.
Mermaid Hair
WHAT YOU'LL NEED: CURLING IRON
BONUS: TEMPORARY COLOR
They're called mermaid waves for a reason. Pair a shell bra and shimmering green tail with hair fit for a true sea siren.
• To prep and protect hair, spray it with Hot Off the Press.
Royal Wedding Hair
BONUS: TEMPORARY COLOR
They're called mermaid waves for a reason. Pair a shell bra and shimmering green tail with hair fit for a true sea siren.
• To prep and protect hair, spray it with Hot Off the Press.
• Separate your hair into two sections—the top half and lower half—and pin the top half up and out of the way.
• Working with the bottom half, take rectangular sections and wrap them around your ExpressIon Unclipped 3-in-1 Curling Iron, using the 1" styling rod attachment. Leave 1-2 inches of the ends of your hair free. Alternate the wave direction—toward and away from your face—with each new section of hair until all hair is curled. Then, repeat with the top section.
• Once you're done, use your fingers or a wide-tooth comb to delicately brush out and tousle your curls.
• To add piecey texture to the ends of your hair, spray with Awapuhi Wild Ginger® Texturizing Sea Spray®. Then, lock in your waves with a light mist of Awapuhi Wild Ginger® Finishing Spray™ hairspray.
Bonus: Take your look to the next level by adding a little color and a nautically themed hairclip. Grab your favorite shades of Neon™ Temporary Color Hairspray. We recommend using wax paper with a square cut out to protect your hair and clothing. Grab a section of hair, string it through the open square so it's in front of the wax paper. Then, spray hair until it reaches your desired color intensity.Royal Wedding Hair
WHAT YOU'LL NEED: CURLING IRON, BOBBY PINS
With a white boat neck gown and veil, you're already dressed for a regal occasion. But what's a royal wedding costume without the perfect hair? We'll show you how to get a simplified version of the iconic undone wedding bun you're looking for, so you can create a hairstyle well suited for a future duchess in no time.
Unicorn Hairstyle
With a white boat neck gown and veil, you're already dressed for a regal occasion. But what's a royal wedding costume without the perfect hair? We'll show you how to get a simplified version of the iconic undone wedding bun you're looking for, so you can create a hairstyle well suited for a future duchess in no time.
• Part your hair as you normally would. Then take two front sections—one from each side of your head—and move them forward. Pull the rest of your hair into a low ponytail.
• Pull the ponytail through your elastic as you would if you were creating a bun, but leave the length of your hair still dangling out of the bottom.
• Prep unsecured hair with a thermal protection spray. Then, take the dangling length of your hair and curl it with your Neuro® Unclipped Styling Cone. Wrap these curled pieces around your bun, pinning as you go.
• Split the hair you pulled to the front earlier into sections and curl it with your Neuro® Unclipped Small Styling Cone. Rake these curled pieces back and pin them.
• Delicately pull up random sections of hair—use a rubbing motion between your fingers—to add texture.
• Finish hair with your favorite long-hold hairspray.
WHAT YOU'LL NEED: HAIR COLOR, STYROFOAM CONE (SHORTER THAN HAIR LENGTH), CURLING IRON, BOBBY PINS
Be a unicorn in a sea of costumed cats. We'll show you how to put a festive spin on unicorn hair that's ready for Halloween.
Pumpkin Bun
Be a unicorn in a sea of costumed cats. We'll show you how to put a festive spin on unicorn hair that's ready for Halloween.
• Grab your favorite shades of temporary color spray and coat sections of hair to your desired intensity. We recommend using this application method.
• Prep hair with heat protection spray. Grab your curling iron and curl all of your hair in sections. Run your fingers through hair to give it more of a tousled look.
• At the front, pin three sections from the left, right and very front of your forehead up and away.
• Place your foam cone at the center of your head, pinning the base of the cone into hair until it feels secure. Then, wrap hair from the left and right around the cone to completely cover it. Pin to secure it. Wrap hair from the front of the forehead around the base of the cone and pin it.
• Put the rest of your hair into a high ponytail. Secure with a dual elastic for easy, added volume. Take a piece of hair from the ponytail and wrap it around elastic to disguise. Tuck hair ends into your elastic to secure.
• Lock in hairstyle with hairspray. Want some sparkle and shine? Cover hair in a gentle mist of Shine Spray™.
WHAT YOU'LL NEED: GREEN RIBBON/SCRUNCHIE, ORANGE HAIR, ORANGE RIBBON OR ORANGE TEMPORARY HAIR COLOR
BONUS: SOME FAUX LEAVES
You don't need a fairy godmother at your disposal to get this look. Turn yourself into a Halloween pumpkin with slightly more effort than your average slicked back bun. Lucky for you, this look pairs well with most low-key outfits. If you want a Halloween hairstyle that can stand on its own, this is a great option.
• First, work a drop of Straight Works® into hair and smooth it back into a sleek ponytail at the crown of your head.
• Twist your ponytail and pin it around your hair tie until you reach the end. Lock your bun in and prevent flyways with Hold Me Tight™ Finishing Spray.
• If you're working with temporary orange hair color, cover all of your head except for the bun. Then, slowly spray your bun with color until it's your desired hue. Opting for orange ribbon? Take two pieces of orange ribbon and layer them—one horizontal and one vertically—on top of your bun. Secure the ribbon with a second elastic or third piece of orange ribbon tied around the base of the bun.
• Now, tie your green ribbon or scrunchie around the base of the bun. Work in faux leaves for added authenticity.
Need hair inspiration for the rest of the year? Find other easy-to-follow hair tutorials, here.Hours
- Monday Closed
- Tuesday 10:00 am - 6:00 pm
- Wednesday 10:00 am - 7:00 pm
- Thursday 10:00 am - 9:00 pm
- Friday 10:00 am - 8:00 pm
- Saturday 9:00 am - 7:00 pm
- Sunday 9:00 am - 5:00 pm
CONTACT

DOWNLOAD THE MERAKI APP AVAILABLE ON


Meraki Hair & Makeup Studio • Copyright © 2026